How to Generate AI Images for Blog Posts (Step-by-Step)
If you want blog visuals that look professional without spending hours in stock libraries or paying for a designer every time, learning how to generate AI images for blog posts is a serious advantage. With the right prompts, sizes, and a simple review checklist, you can produce on-brand hero images, section visuals, product mock-ups, and social thumbnails in minutes—then reuse the same workflow across every article.
Why AI images matter for blog performance
Strong imagery improves how readers experience your content and how your posts perform across channels. A clear hero image increases perceived quality, supporting visuals make long posts easier to scan, and share-ready thumbnails help distribution on LinkedIn, X, Pinterest, and newsletters. AI image generation also helps when you need unique visuals for specific concepts (for example, “zero-party data”, “vector databases”, or “supply chain visibility”) where stock photos look generic.
Gen AI Last combines text, image, audio, and video creation in one place, so you can build a consistent content pipeline: write the article, generate bespoke images, create a short promo video, and add voice-over or narration—all in the same platform. Explore our AI content tools to see how it fits into a modern blog workflow.
What types of AI images work best in blog posts?
Before you write prompts, decide what you actually need. Blog images typically fall into a few reliable categories:
- Hero/featured image: the main banner that defines the post.
- Section images: one per major section to break up long text.
- Process visuals: “step-by-step” scenes, dashboards, devices, or hands-on workflows.
- Conceptual illustrations: metaphors (e.g., “growth”, “risk”, “automation”)—useful, but easy to overdo.
- Product and marketing visuals: mock-ups, packaging-style scenes, UI-style compositions (without logos).
- Social thumbnails: cropped variants for distribution.
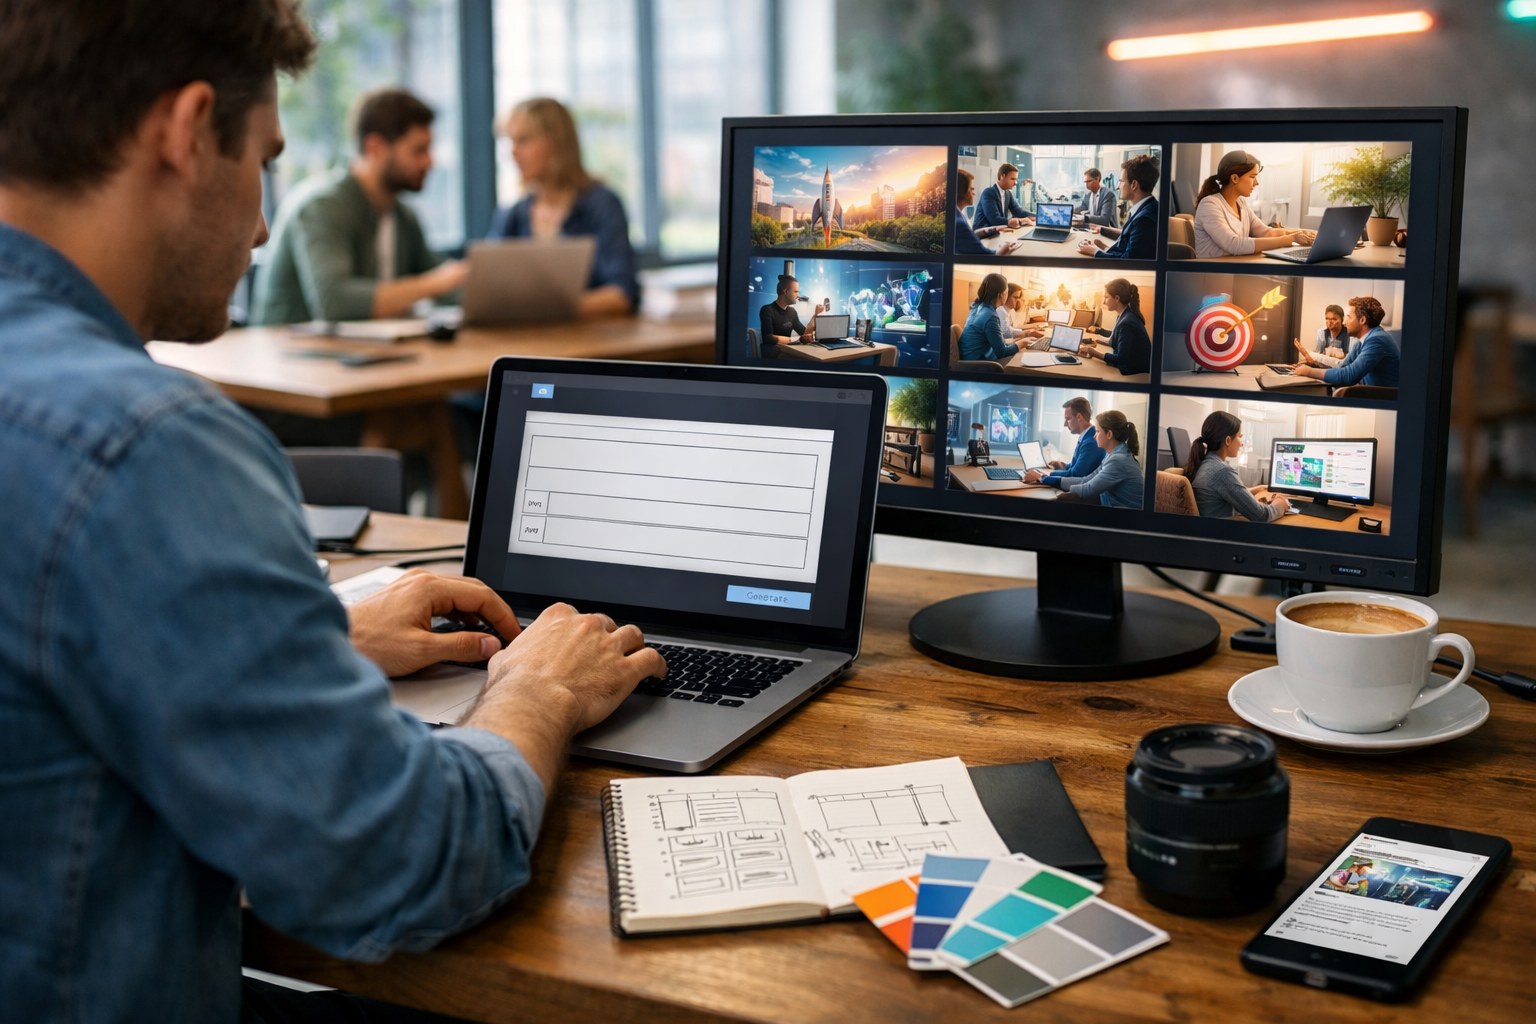
For the keyword “how to generate AI images for blog posts”, the strongest visuals often show the actual workflow: a writer/marketer creating images, reviewing variations, and placing them into a blog layout.
Step-by-step: how to generate AI images for blog posts
Step 1: Define the image job (not just the topic)
Start with a one-line brief. It should state the purpose, not merely the subject. Examples:
- Hero image for a tutorial post: “Show the act of generating AI blog images on a laptop, professional and trustworthy.”
- Section break for “prompt structure”: “Flat-lay desk scene with prompt notes, camera lens, colour palette, and image grid on screen.”
- Example image for “blog niches”: “Food blogger home kitchen setting with laptop and AI-generated recipe imagery variations.”
This prevents the most common failure: generating attractive images that do not support the specific part of the article.
Step 2: Choose a consistent style that matches your brand
Consistency is what makes AI imagery look intentional rather than random. Pick a style “rail” and stick to it across the whole post (and ideally across your site):
- Photorealistic: best for business, SaaS, tutorials, product-led content.
- Editorial illustration: good for thought leadership and opinion pieces.
- 3D clay/soft render: friendly for startups and consumer apps.
- Minimal abstract shapes: good as subtle section dividers.
If your brand has a signature palette, mention it in the prompt (e.g., “cool blue tech vibe with subtle neon accents”) and reuse that phrase. Even without exact colour matching, the output becomes more cohesive.
Step 3: Use a prompt structure that produces reliable results
A practical prompt formula for blog images is:
- Subject: who/what is in the scene?
- Action: what’s happening (writing, editing, selecting variations)?
- Setting: home office, agency, studio, coffee shop, co-working space.
- Props: laptop, second monitor, notebook, camera, colour cards, phone.
- Composition: wide 16:9, angle, depth of field, clean negative space.
- Lighting: soft natural light, golden hour, cool tech blues, neon accents.
- Constraints: “no text, no logos, no watermarks”.
This structure keeps prompts specific enough to guide the model, while leaving room for creative variation.
Step 4: Generate multiple variations (then iterate, don’t restart)
The fastest route to a high-quality blog image is creating variations of a strong base prompt. Generate 4–8 options, pick the best composition, then tweak only one or two elements at a time:
- Change the setting (co-working space → home office) while keeping the props.
- Change the lighting (soft natural → cool blue tech) while keeping the composition.
- Adjust camera angle (top-down flat-lay → 45-degree desk view).
This approach is more predictable than rewriting the entire prompt and hoping the next generation “magically” works.
Step 5: Generate the right aspect ratios for where the image will appear
Blogs often need multiple crops. Plan them upfront so you do not lose key details in a crop later.
- Hero images: 16:9 (great for headers and link previews).
- Inline images: 4:3 or 3:2 (often works well within the body).
- Square thumbnails: 1:1 (useful for social and blog cards).
- Vertical pins: 2:3 or 9:16 (optional for Pinterest/shorts covers).
Even if you create a 16:9 master, compose with safe margins so key subjects stay centred.
Practical prompt examples you can copy
Use these as starting points in Gen AI Last, then adjust the niche, mood, and props to match your article.
Example 1: Hero image for a “how to generate AI images” tutorial
Prompt: Photorealistic 16:9 wide shot of a content marketer at a desk generating AI images for a blog post on a laptop, second monitor showing a grid of image variations, notebook with prompt structure notes, colour palette cards, coffee cup, smartphone with blog draft preview, modern co-working space background, soft natural light, shallow depth of field, clean composition with negative space, no text, no logos, no watermarks.
Example 2: Section image for “prompt structure”
Prompt: Top-down flat-lay desk scene, prompt planning for blog visuals: sticky notes, pencil, simple wireframe sketches, laptop corner with image thumbnails visible but unreadable, warm golden hour lighting, neutral tones with subtle blue accents, photorealistic, 16:9, tidy workspace, no text, no logos, no watermarks.
Example 3: Section image for “SEO and optimisation”
Prompt: Photorealistic 16:9 scene of a blogger optimising images for a web article: computer showing a web editor layout with image placeholders (no readable text), a small checklist on paper (icons only), a camera and lens on desk, cool blue tech lighting, modern agency office, crisp focus, minimalistic composition, no text, no logos, no watermarks.
Quality checklist: how to avoid “AI-looking” blog images
AI images can fail in predictable ways. Use this quick checklist before publishing:
- Hands and screens: Are hands natural? Are screens free of gibberish text? If not, regenerate with “no readable text” or “screen content blurred”.
- Lighting consistency: Does the light direction make sense? Mixed shadows can look uncanny.
- Brand alignment: Does it match your tone (serious, playful, premium)? If not, adjust style words (e.g., “editorial”, “minimal”, “high-end studio”).
- Relevance: Could this image belong to any generic article? Add specific props tied to your topic (wireframes, prompt notes, image grid, CMS layout).
- Clutter: Busy images reduce comprehension. Ask for “clean composition” and “negative space”.
- Authenticity: Avoid depicting real brands, logos, or recognisable people. Keep it original and compliant.
SEO basics for AI-generated blog images
Generating the image is only half the job. Image SEO helps page speed, accessibility, and discovery (including Google Images). Prioritise these fundamentals:
1) Use descriptive file names
Rename files before upload. Good: generate-ai-images-for-blog-posts-hero.jpg. Avoid: image_0938.png.
2) Write helpful alt text (not keyword stuffing)
Alt text should describe the image for screen readers. Example: “Marketer creating AI-generated images for a blog post on a laptop with variations on a second monitor.” Include the keyword only when it fits naturally.
3) Compress and size appropriately
Large images slow your site. Export to modern formats where possible (WebP/AVIF if your CMS supports them) and aim for the display size your theme uses. As a general guide, 1600–2400px wide is often enough for hero images; smaller for inline visuals.
4) Keep image intent aligned with on-page intent
If the page is a tutorial, show the tutorial workflow. If the page is a product page, show the product in use. Google’s systems reward pages that satisfy user intent; mismatched imagery can increase bounce.
A simple workflow: generate images and publish faster with Gen AI Last
Here’s a repeatable workflow for teams and solo creators that keeps quality high without slowing you down:
- Outline the post and mark where images will help: hero + 2–4 section visuals.
- Draft your article using AI Text Generation, then refine for your real experience and examples.
- Create a “style rail”: 1–2 lines describing your consistent look (e.g., “photorealistic, modern office, cool blue tech lighting, clean composition”).
- Generate image variations in AI Image Generation, choosing the best composition first.
- Optimise: rename files, add alt text, compress, and ensure consistent aspect ratios.
- Repurpose: create a short promo using AI Video Generation and a voice-over using AI Audio Generation for social and newsletters.
Because Gen AI Last includes text, images, audio, and video in every plan, you avoid paying for separate tools and can keep your content production consistent. If you’re budget-conscious, view pricing from $10/month to see how it compares to stacked subscriptions.
Common mistakes (and how to fix them)
Mistake 1: Prompts that are too vague
“AI image of blogging” will usually look generic. Fix it by specifying the job, setting, props, and composition. Add “grid of variations on screen” or “blog editor layout” to connect the visual directly to blog publishing.
Mistake 2: Using images that contradict your copy
If your article promises a beginner-friendly guide but your imagery looks like a futuristic sci-fi lab, readers feel a mismatch. Fix by choosing a realistic context: home office, small studio, or co-working desk.
Mistake 3: Overusing surreal or overly abstract visuals
Abstract images can work as dividers, but too many reduce clarity. Fix by mixing: 1 hero image + mostly practical scenes (workflow, tools, publishing).
Mistake 4: Ignoring licensing and originality concerns
Avoid prompts requesting specific brands, celebrities, or copyrighted characters. Keep visuals generic and original. When in doubt, generate a new version that uses your own scenarios and props.
Advanced tips for more “editorial” results
Once you have the basics, these prompt additions can make outputs look more like professional photography:
- Lens and camera cues: “35mm lens”, “shallow depth of field”, “soft bokeh background”.
- Composition cues: “rule of thirds”, “negative space on the left for header placement”.
- Material realism: “matte aluminium laptop”, “paper texture notebook”, “ceramic mug”.
- Colour grading: “cool blue tech tones”, “warm golden hour”, “high-contrast editorial lighting”.
Use these sparingly—over-specifying can make generation brittle. The goal is a clear direction, not a script.
Quick-start: your first 10 minutes
If you want a fast start, do this:
- Pick one post you want to improve.
- Decide on two images: a hero and one section visual.
- Use the “prompt structure” above and generate 6–8 variations.
- Choose the best, then regenerate once with a small tweak (lighting or angle).
- Upload with a descriptive filename and accurate alt text.
If you want to test the full workflow—article draft, images, plus repurposing assets—start creating for free and build a complete post pack in one sitting.
Frequently asked questions
Can AI images replace stock photos for blog posts?
Often, yes—especially for custom concepts, consistent branding, and niche topics where stock looks repetitive. Many blogs use a hybrid approach: AI for bespoke hero and concept visuals, stock for specific real-world locations or events.
How many images should a blog post include?
A practical baseline is one hero image plus one image every 300–500 words for long tutorials. Prioritise clarity over quantity; each image should support a section’s message.
What’s the easiest way to keep visuals consistent across posts?
Create a reusable “house style” phrase and include it in every prompt (style, lighting, and composition). Then vary only the subject and props. With Gen AI Last, you can keep prompt templates alongside your content workflow so the brand look stays stable.
Conclusion: a repeatable system beats one-off luck
The secret to generating AI images for blog posts is not finding the perfect prompt once—it’s building a repeatable system: define the image job, stick to a consistent style, generate variations, iterate carefully, and publish with solid image SEO. With Gen AI Last, you can produce the written post and the complete set of visuals (and even supporting audio/video assets) in one streamlined workflow, which is ideal for startups and small teams that need speed without sacrificing quality.
Ready to Create with Generative AI?
Join thousands of creators using Gen AI Last to generate text, images, audio, and video — all from one platform. Start your 7-day free trial today.
Start Free — Try 7 DaysQuick Links
Create AI content from $10/month
View Plans